A simple craft for children of all ages! Idea taken from DLTK.com
You Will Need:
~ Printer
~ Paper
~ Scissors
~ Paint, pens, pencils (our bunny was painted). Light blue, dark blue and pink
~ Glue
~ Glitter (optional)
Method:
- Print out the template of choice.
- Colour (where appropriate) and cut out the template pieces.
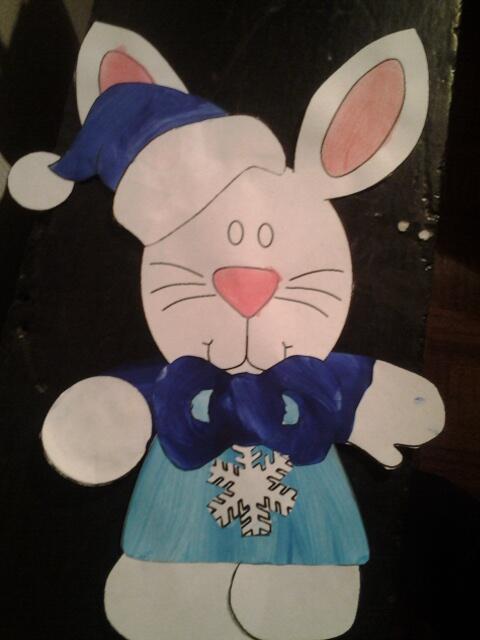
- Glue the bunny together in the following order (refer to the small 'finished craft' image on the template for further guidance):
- glue the big foot onto the back of the body, so the straight edge of the foot lines up quite evenly with the edge of the body.
- glue the small foot onto the back of the body/big foot, so the curved edge of the foot lines up quite evenly with the edge of the body.
- glue the arms on, positioning as you prefer. If you glue the arm on the curved side of the dress BEHIND and the arm on the straight side of the dress ON TOP it gives the bunny a 3D look
- glue the head on top of the body
- glue the hat onto the head
- glue the bow on top of one of the ears for a girl bunny or underneath of the chin for a boy bunny.
- glue the snowflake to the center of the body
- glue the snowball into one of the hands
- glue the big foot onto the back of the body, so the straight edge of the foot lines up quite evenly with the edge of the body.
- See picture on the template for further help
Templates are available here
This craft is suitable for 2 years +, as long as they have help cutting out some of the shapes.
Allow children to use different coloured paints to the ones we used, or add decorations to it. Don't add the snowflake and you can use the bunny craft all year round!
No comments:
Post a Comment